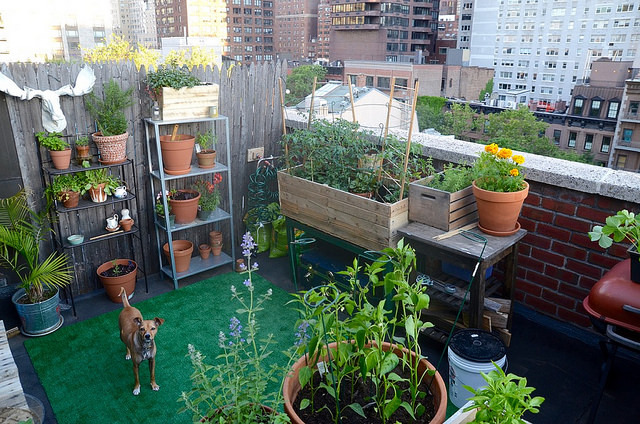
How can you grow a little food, brighten any room and bring the great outdoors indoors, even if you live on the 23rd floor of a high-rise? Garden in pots! With a few containers, soil, some seedlings or bulbs and a little know-how you can create your own apartment garden. Or, if you have a huge house and a rambling estate in the country, you can use container gardening to decorate and enhance your patios, decks or any room in your home.
Container plants have many advantages over their in-ground counterparts. Their size and portability make it possible to grow your favorite plants almost anywhere. A wide variety of plants, requiring vastly different growing conditions, can be cultivated side by side. And, unlike outdoor gardens, you can rotate your indoor flora to show off the most striking blooms to best advantage. You’ll also have less of problem with bugs and weeds; potting soil can be purchased sterile, and separate pots will prevent the sharing of weeds, diseases and insects.
Plan Your Strategy
There are many ways to use container plants to add color and style to your dwelling without taking up much space. Try creating color terraces: Get several containers of graduating sizes and arrange them with the larger pots in back and smaller ones in front. Then, pick a color scheme and plant your flora accordingly. For example, if you’d like an arrangement of yellows and purples, you could plant yellow daisies and lavender in the big pots, zinnias of both colors in the middle sized ones and purple and yellow pansies in the small pots. Or, try devoting each terrace to a single color.
Most plants work well in containers, but some are a little nicer than others. Flowers like cosmos, marigolds and nasturtium are lovely and can be planted year-round. Also, experiment with shrubs like heather, hollies or roses. In the summer, try lilies, baby’s breath, phlox or coral bells. Fall in-door gardens thrive with chrysanthemums, asters and Japanese anemones.
This Pot’s for You
To start gardening indoors, you will need the right pot or pots. Decorative, atypical containers work great as long as they have the necessary holes in their bottoms. So go to a pottery store and indulge your fancy, or consider using old baskets, buckets or small trash cans you have lying around the house.
Ornamental ceramic planters are popular containers, but plastic pots also have advantages. They’re lightweight and easy to move and clean. They also tend to keep soil moist, and they are easy to store.
Make sure to get containers that are large enough. Plants can become root bound faster than you might think possible! Plan ahead and get pots that will accommodate at least a year’s growth for your plants. (If you don’t know how big a given plant will get in a year, ask an employee at your local nursery.) Also, make sure that your containers have several large drainage holes on their undersides. Insufficient drainage can make soil waterlogged and kill even the best cared-for plants.
Soil
Once you’ve picked your pots, you’ll know how much soil you will need. In general, it is a better idea to use commercial potting soil. It’s sterile and has many of the nutrients your plants will need already added. But if you have access to a large amount of rich, loamy dirt, you might want to try blending your own potting soil. Just combine equal thirds compost, soil and vermiculite or perlite. With either store-bought or homemade soil, add a complete organic fertilizer. There are many high-quality commercial fertilizers, but you can use the following recipe if you would like to make your own:
- 8 parts seed meal
- 2 parts dolomite lime
- 1 part kelp meal
- 1 part bone meal -or- 2 parts soft rock phosphate
All of these ingredients can be purchased at a feed or garden supply store. The total amount of fertilizer to use will depend on the size and nutritional requirements of your plants.
Planting
First, cover the bottoms of your containers with pebbles or fragments of a broken clay pot to facilitate drainage. Fill the pots with soil, leaving a few inches at the top of the pot to allow for watering. Then, plant bulbs or seeds at the depth they require and cover the surface of the dirt with mulch. Water until you begin to see drainage.
Repeated watering tends to remove vitamins from the soil of container plants. To counteract this, add a little liquid fertilizer to your pots every month or so. Place your containers in a place where the plants will receive an appropriate amount of sunlight, turn them occasionally and get ready to enjoy the fruits and flowers of your labors!
